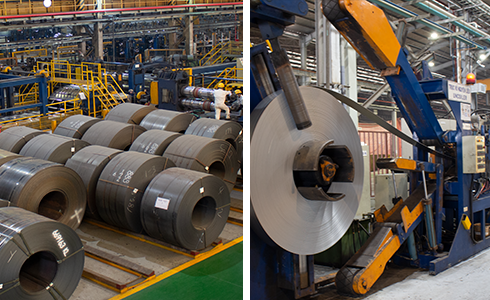
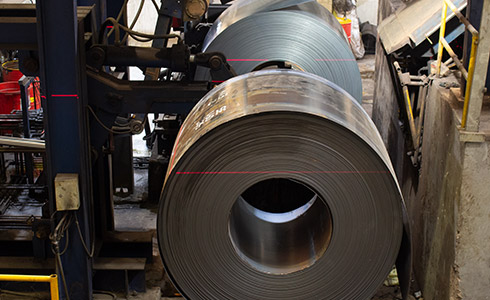
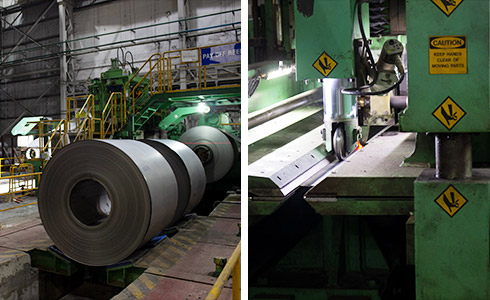
Procure Maruichi spec HRC, raw materials specially designed for Maruichi group, from Japanese steel manufacturers to ensure that final products will be top-notch.
Materials are then stored and managed in the system to maintain the traceability throughout the production process.
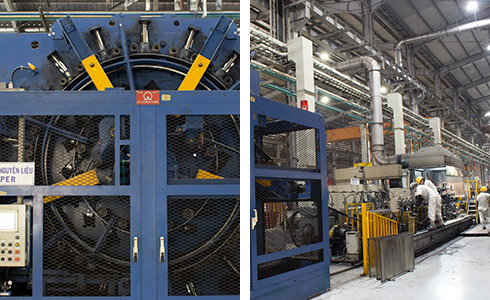
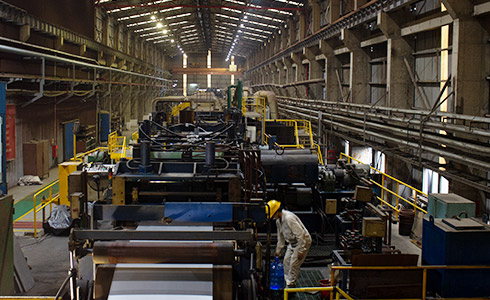
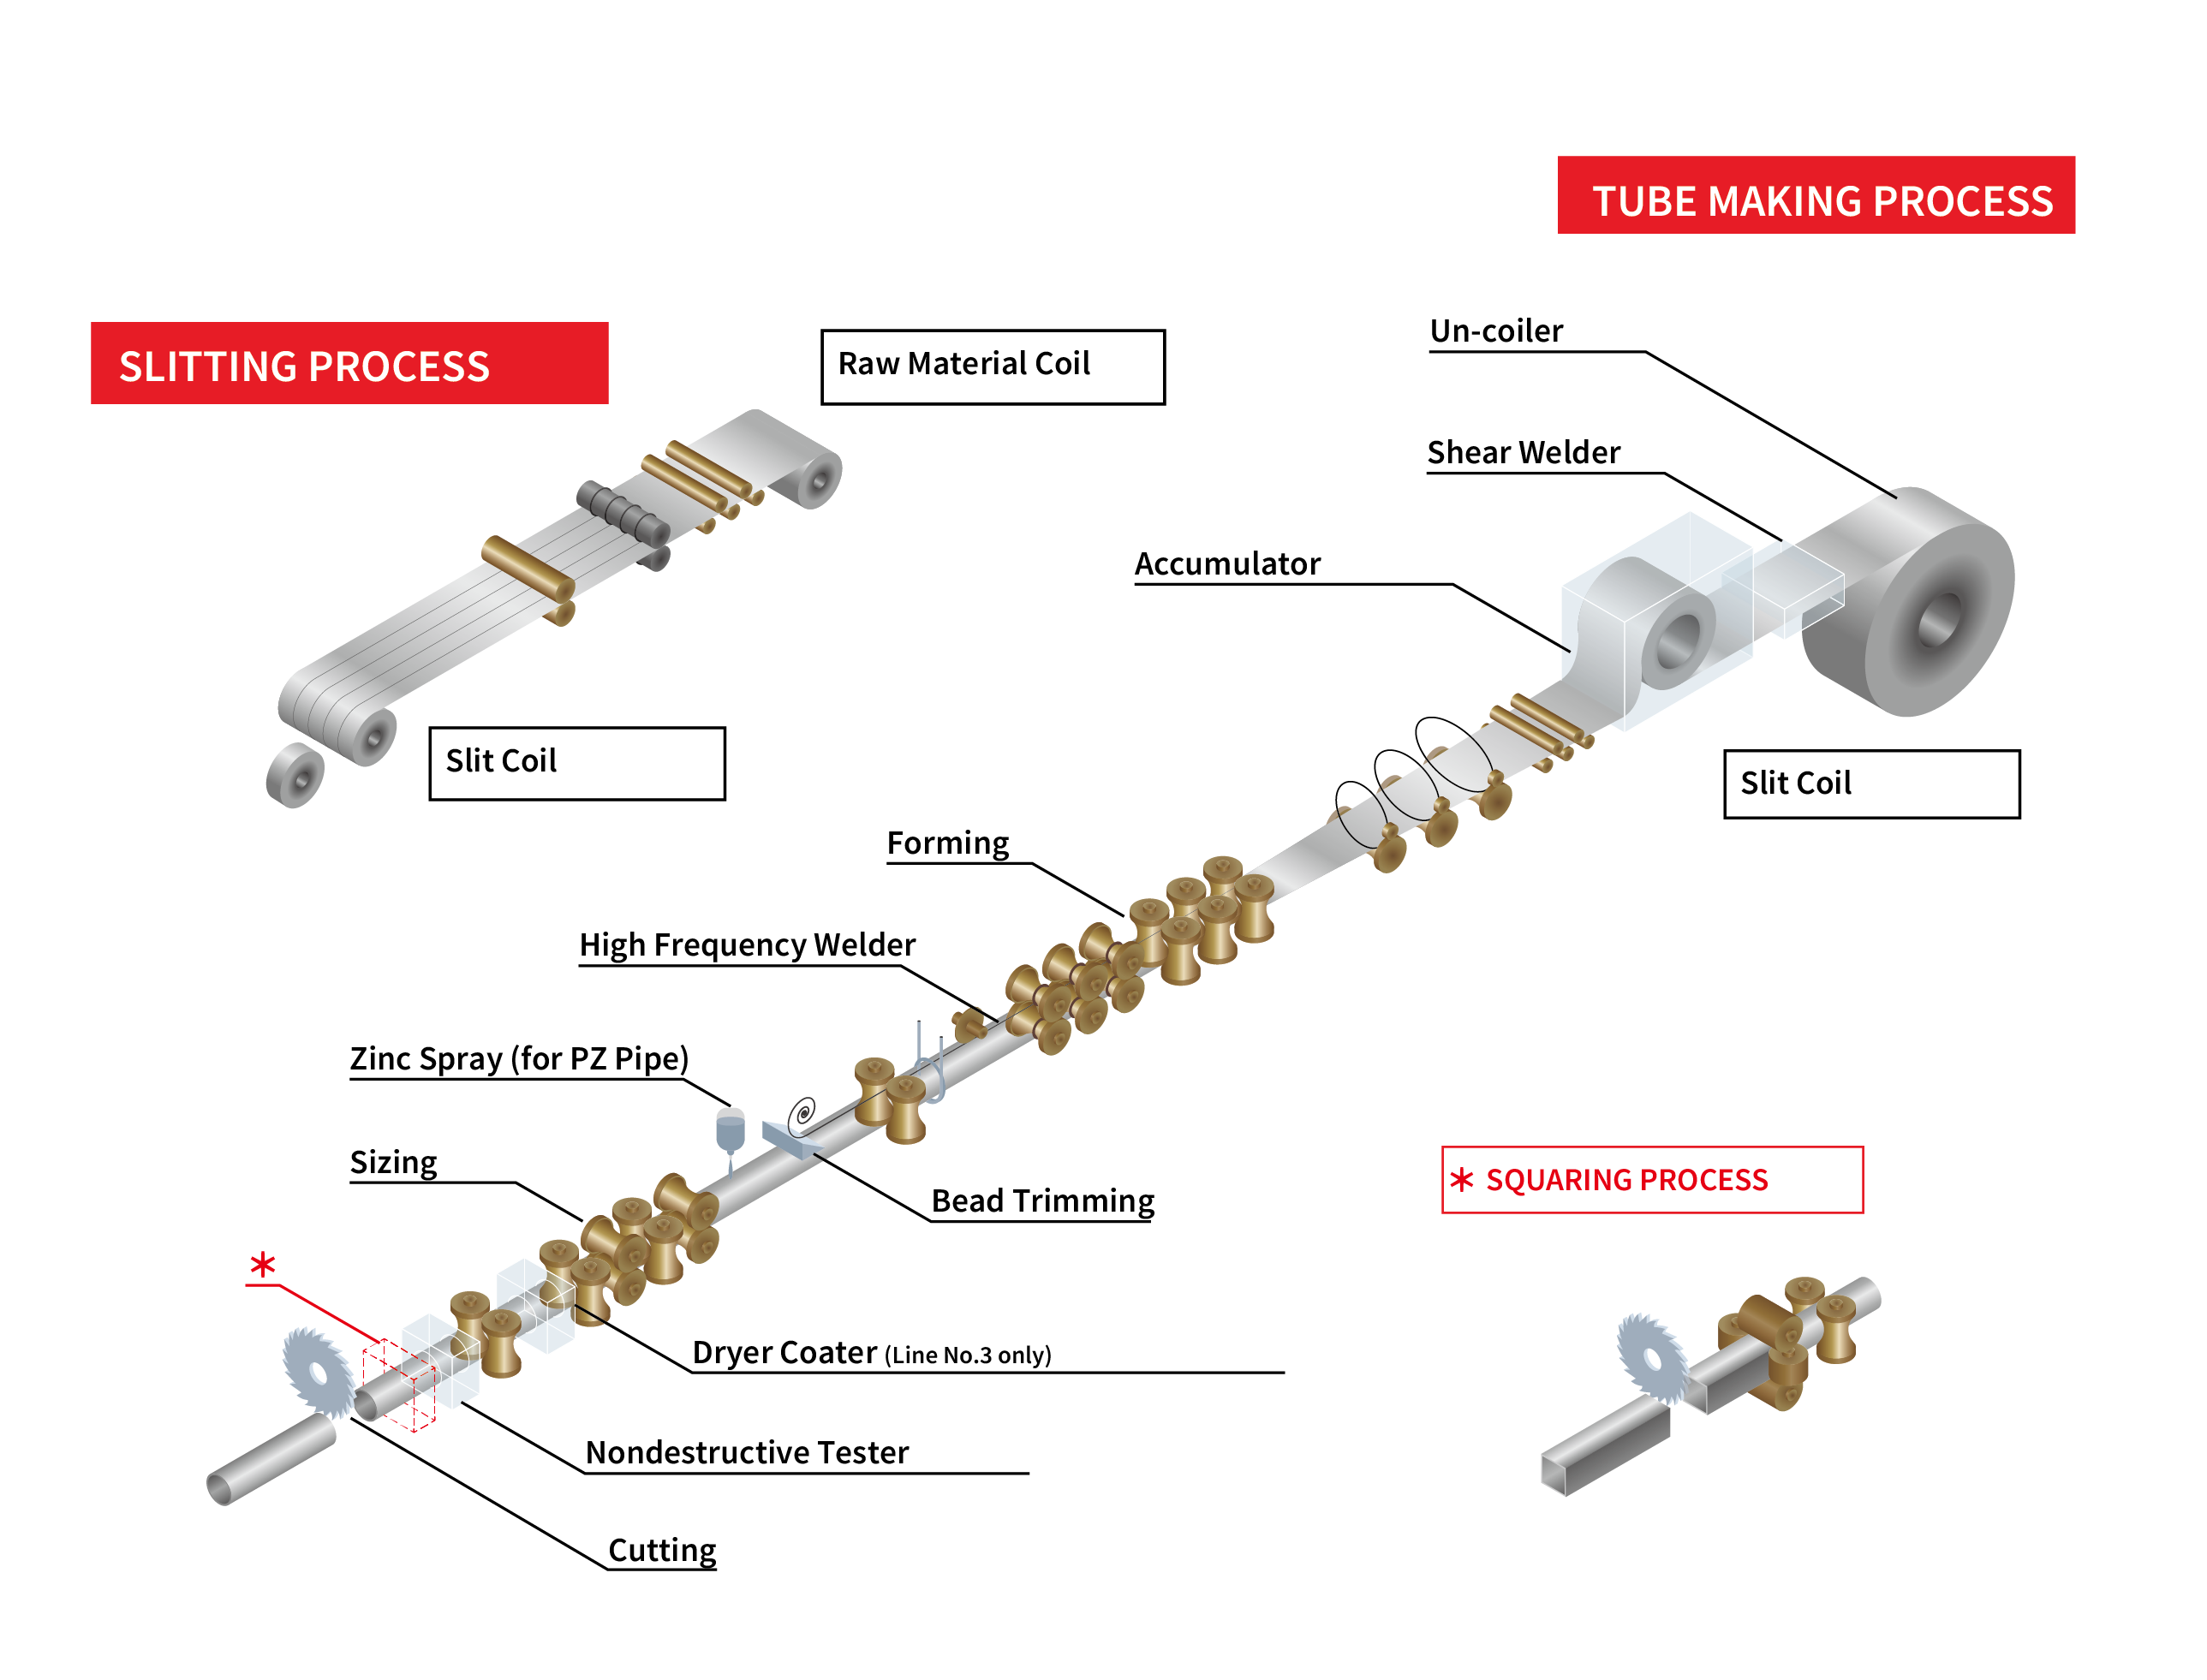
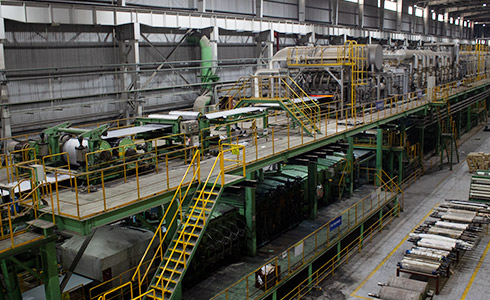
After the HRC is slitted, the slit coils are accumulated inside the looper, which allows the material to be fed continuously into the roll-forming line. Roll-forming line changes the flat slit coils into round pipe shape.
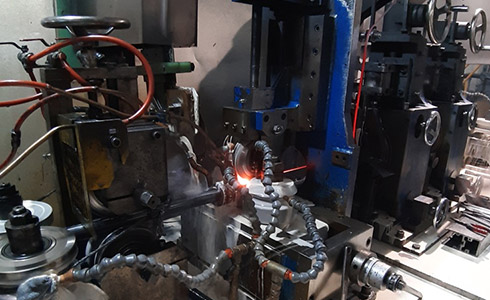
Both edges of roll-formed slit coils are then pressed against each other, and high frequency electric current is applied to melt and joint them, making them into welded pipe.
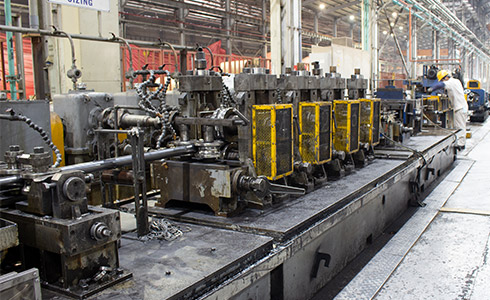
Welded pipe then goes thru sizing process, series of dies mechanically squeezing it to become the desired shapes with required dimension tolerance.
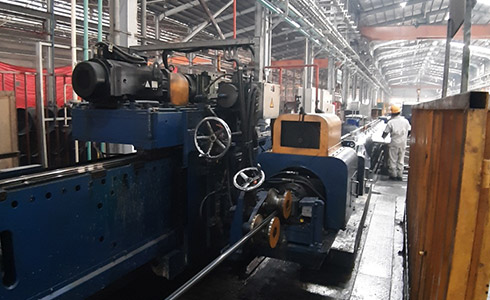
Programmed automatic cutting machine chases the welded pipe while it runs thru the production line, and cut it to the length required by customers.
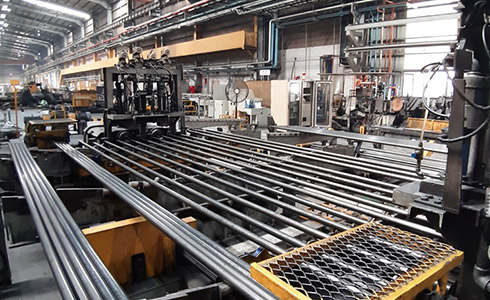
Both pipe ends are lathed to be suitable for handling.
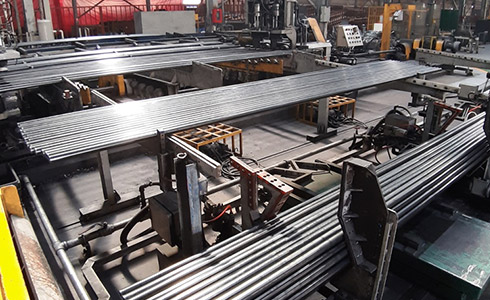
Pipes are bundled to the order standard for shipping.
Procure Maruichi spec HRC, raw materials specially designed for Maruichi group, from Japanese steel manufacturers to ensure that final products will be top-notch. Materials are then stored and managed in the system to maintain the traceability throughout the production process.
(Raw material Thickness : 1.2~4.5mm)
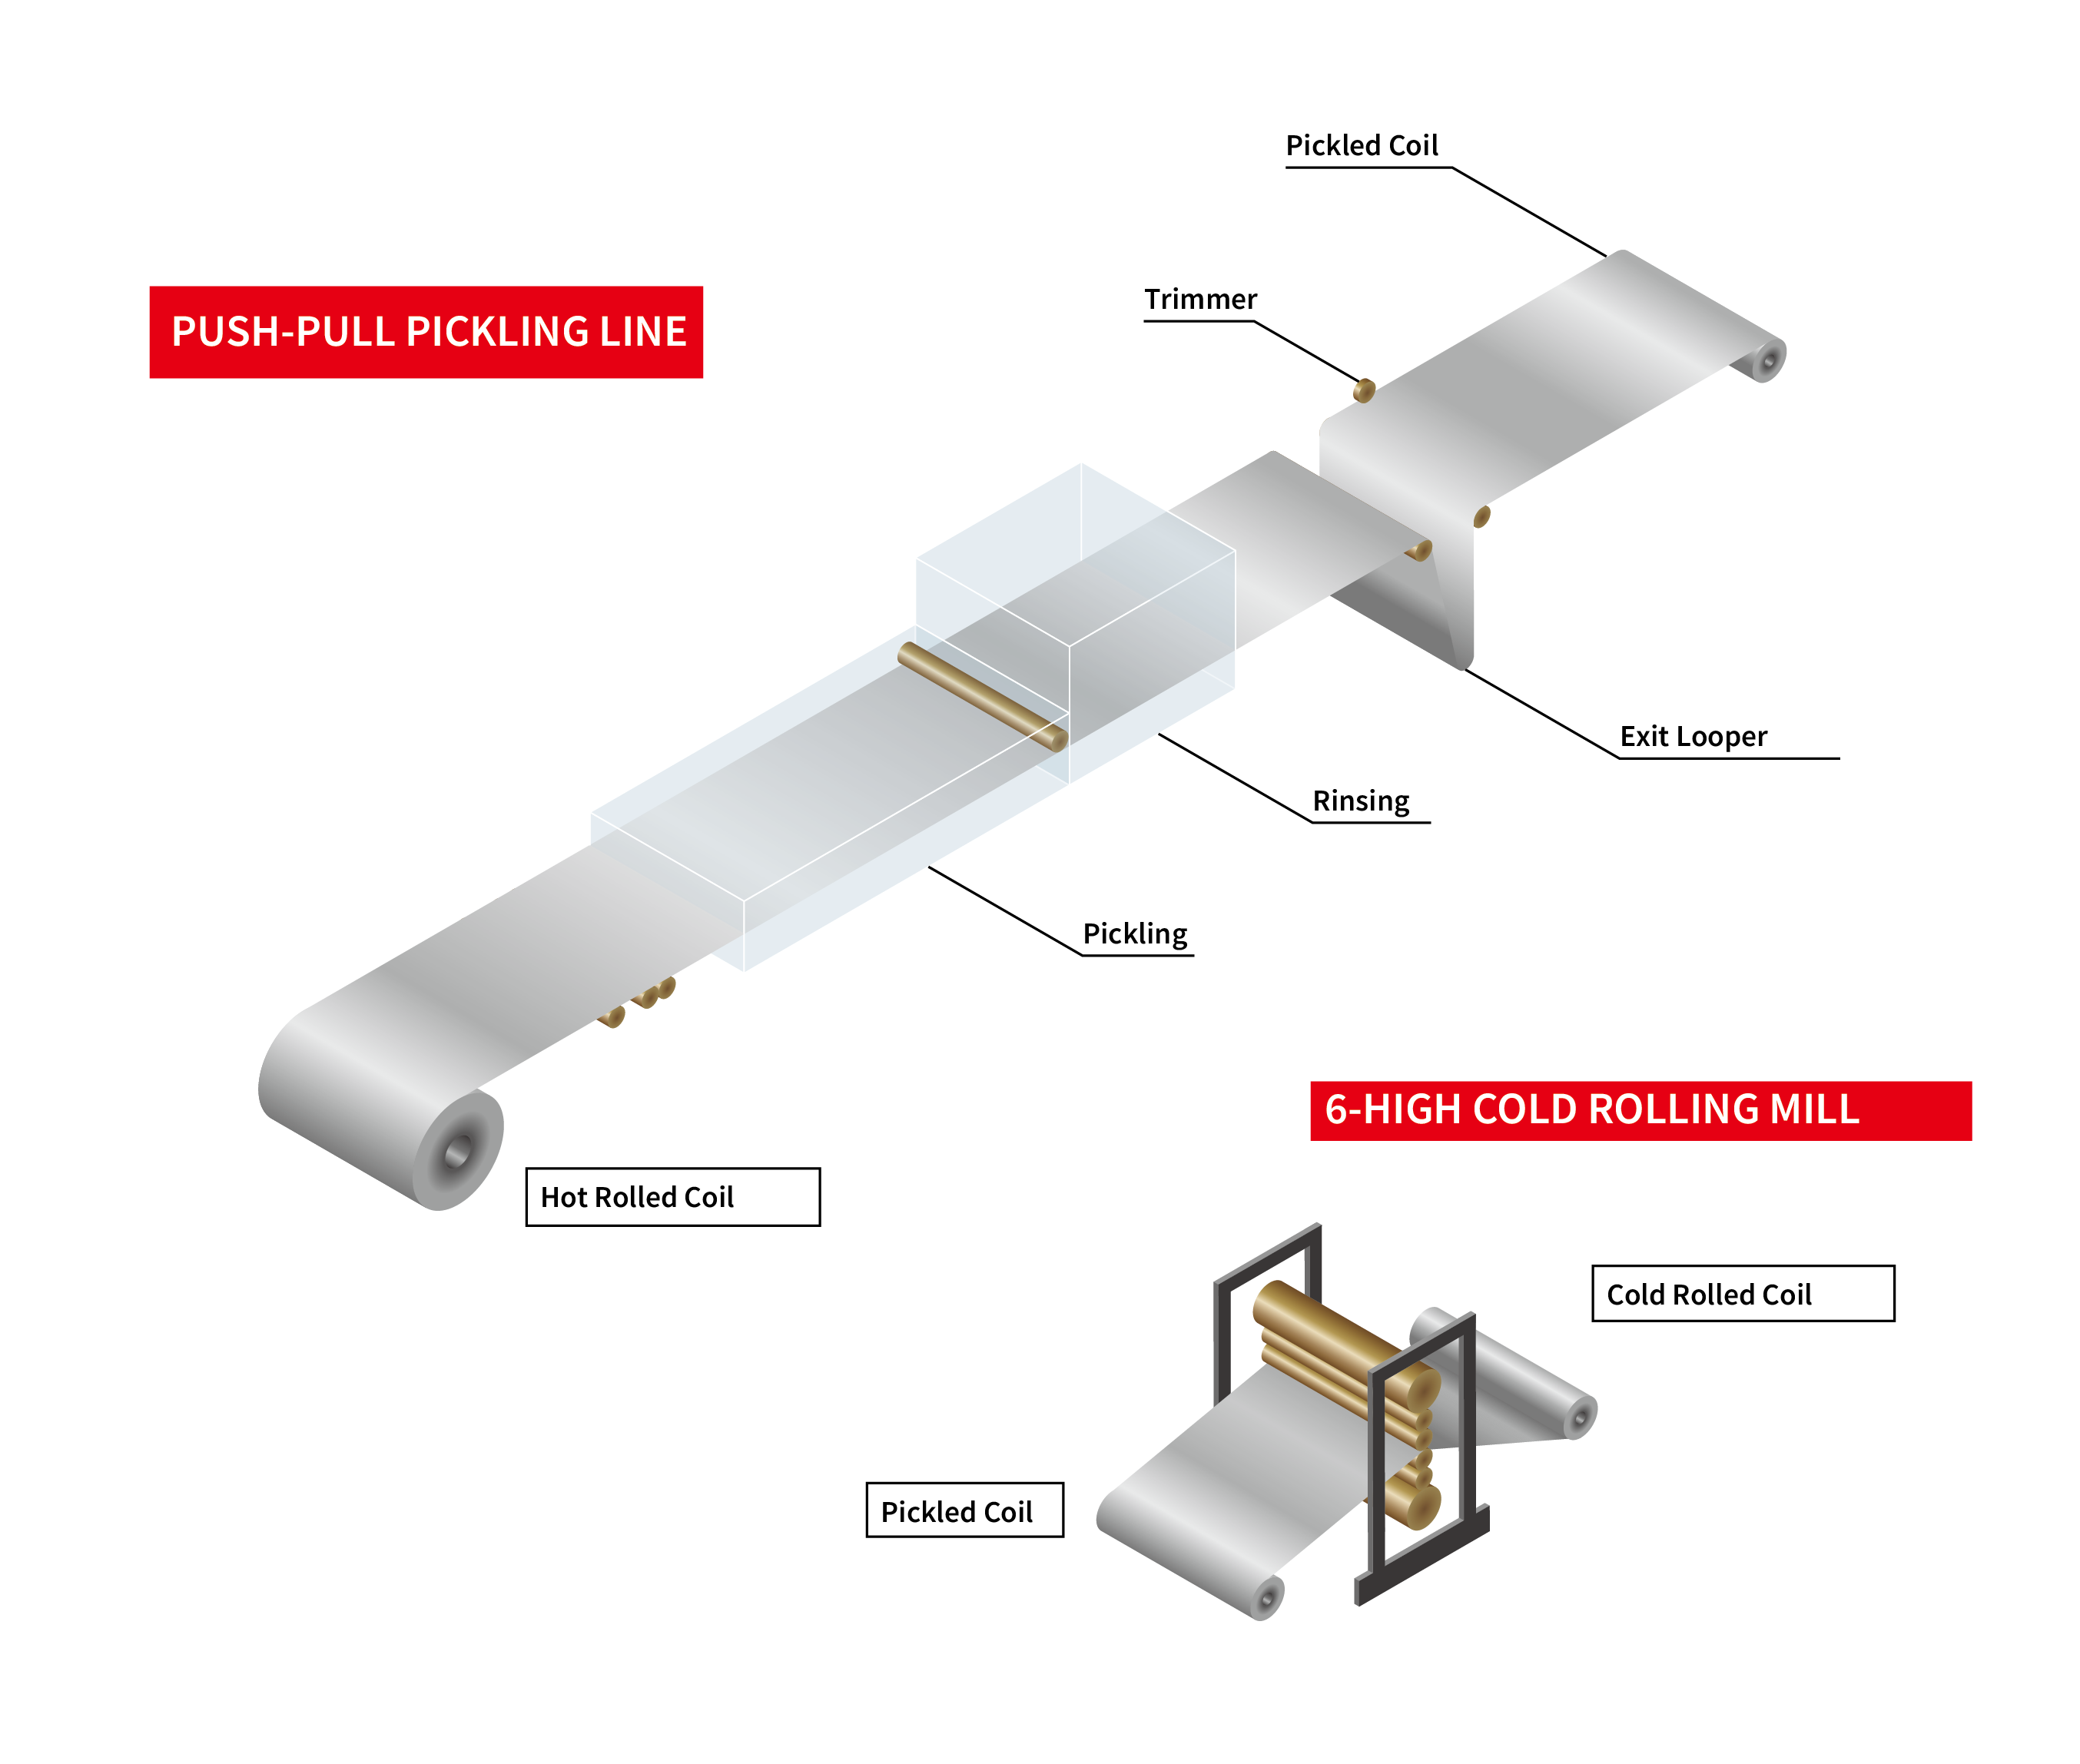
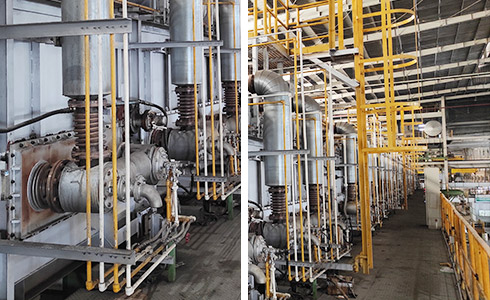
HRC goes thru 6 tanks for continuous cleaning by HCl acid solution to remove its surface scale and rust. Acid solution then circulates into acid regeneration treatment system.

Acid cleaned coil then goes thru the hot water shower to rinse off the acid solution.
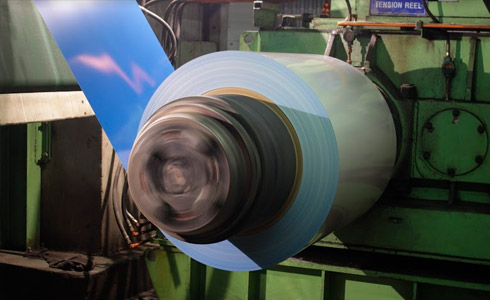
Both edges is trimmed to the desired width and smooth shape for the next processing. Coil is the re-coiled and weighed.
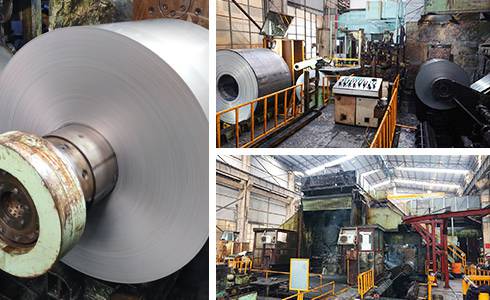
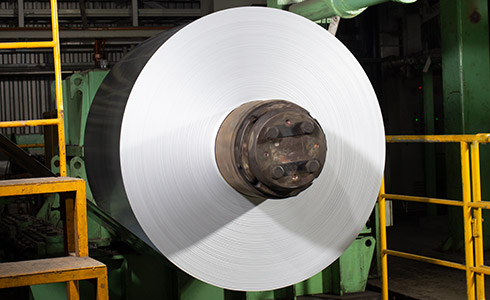
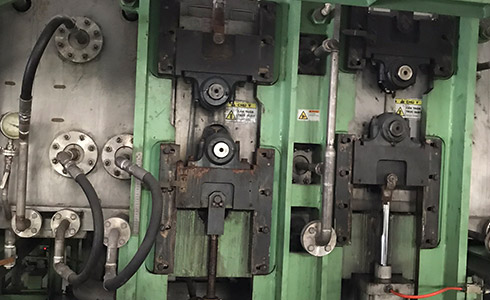
Coil is transferred and set onto the pay-off reel of 6 High Cold Rolling Mill, which rolls the coil while pressing it by 6 rolls(2 back-up, 2 intermediate, 2 work) . Coil’s dimensional accuracy is achieved to the order specification, (0.180-2.00mm), making it cold rolled coil.
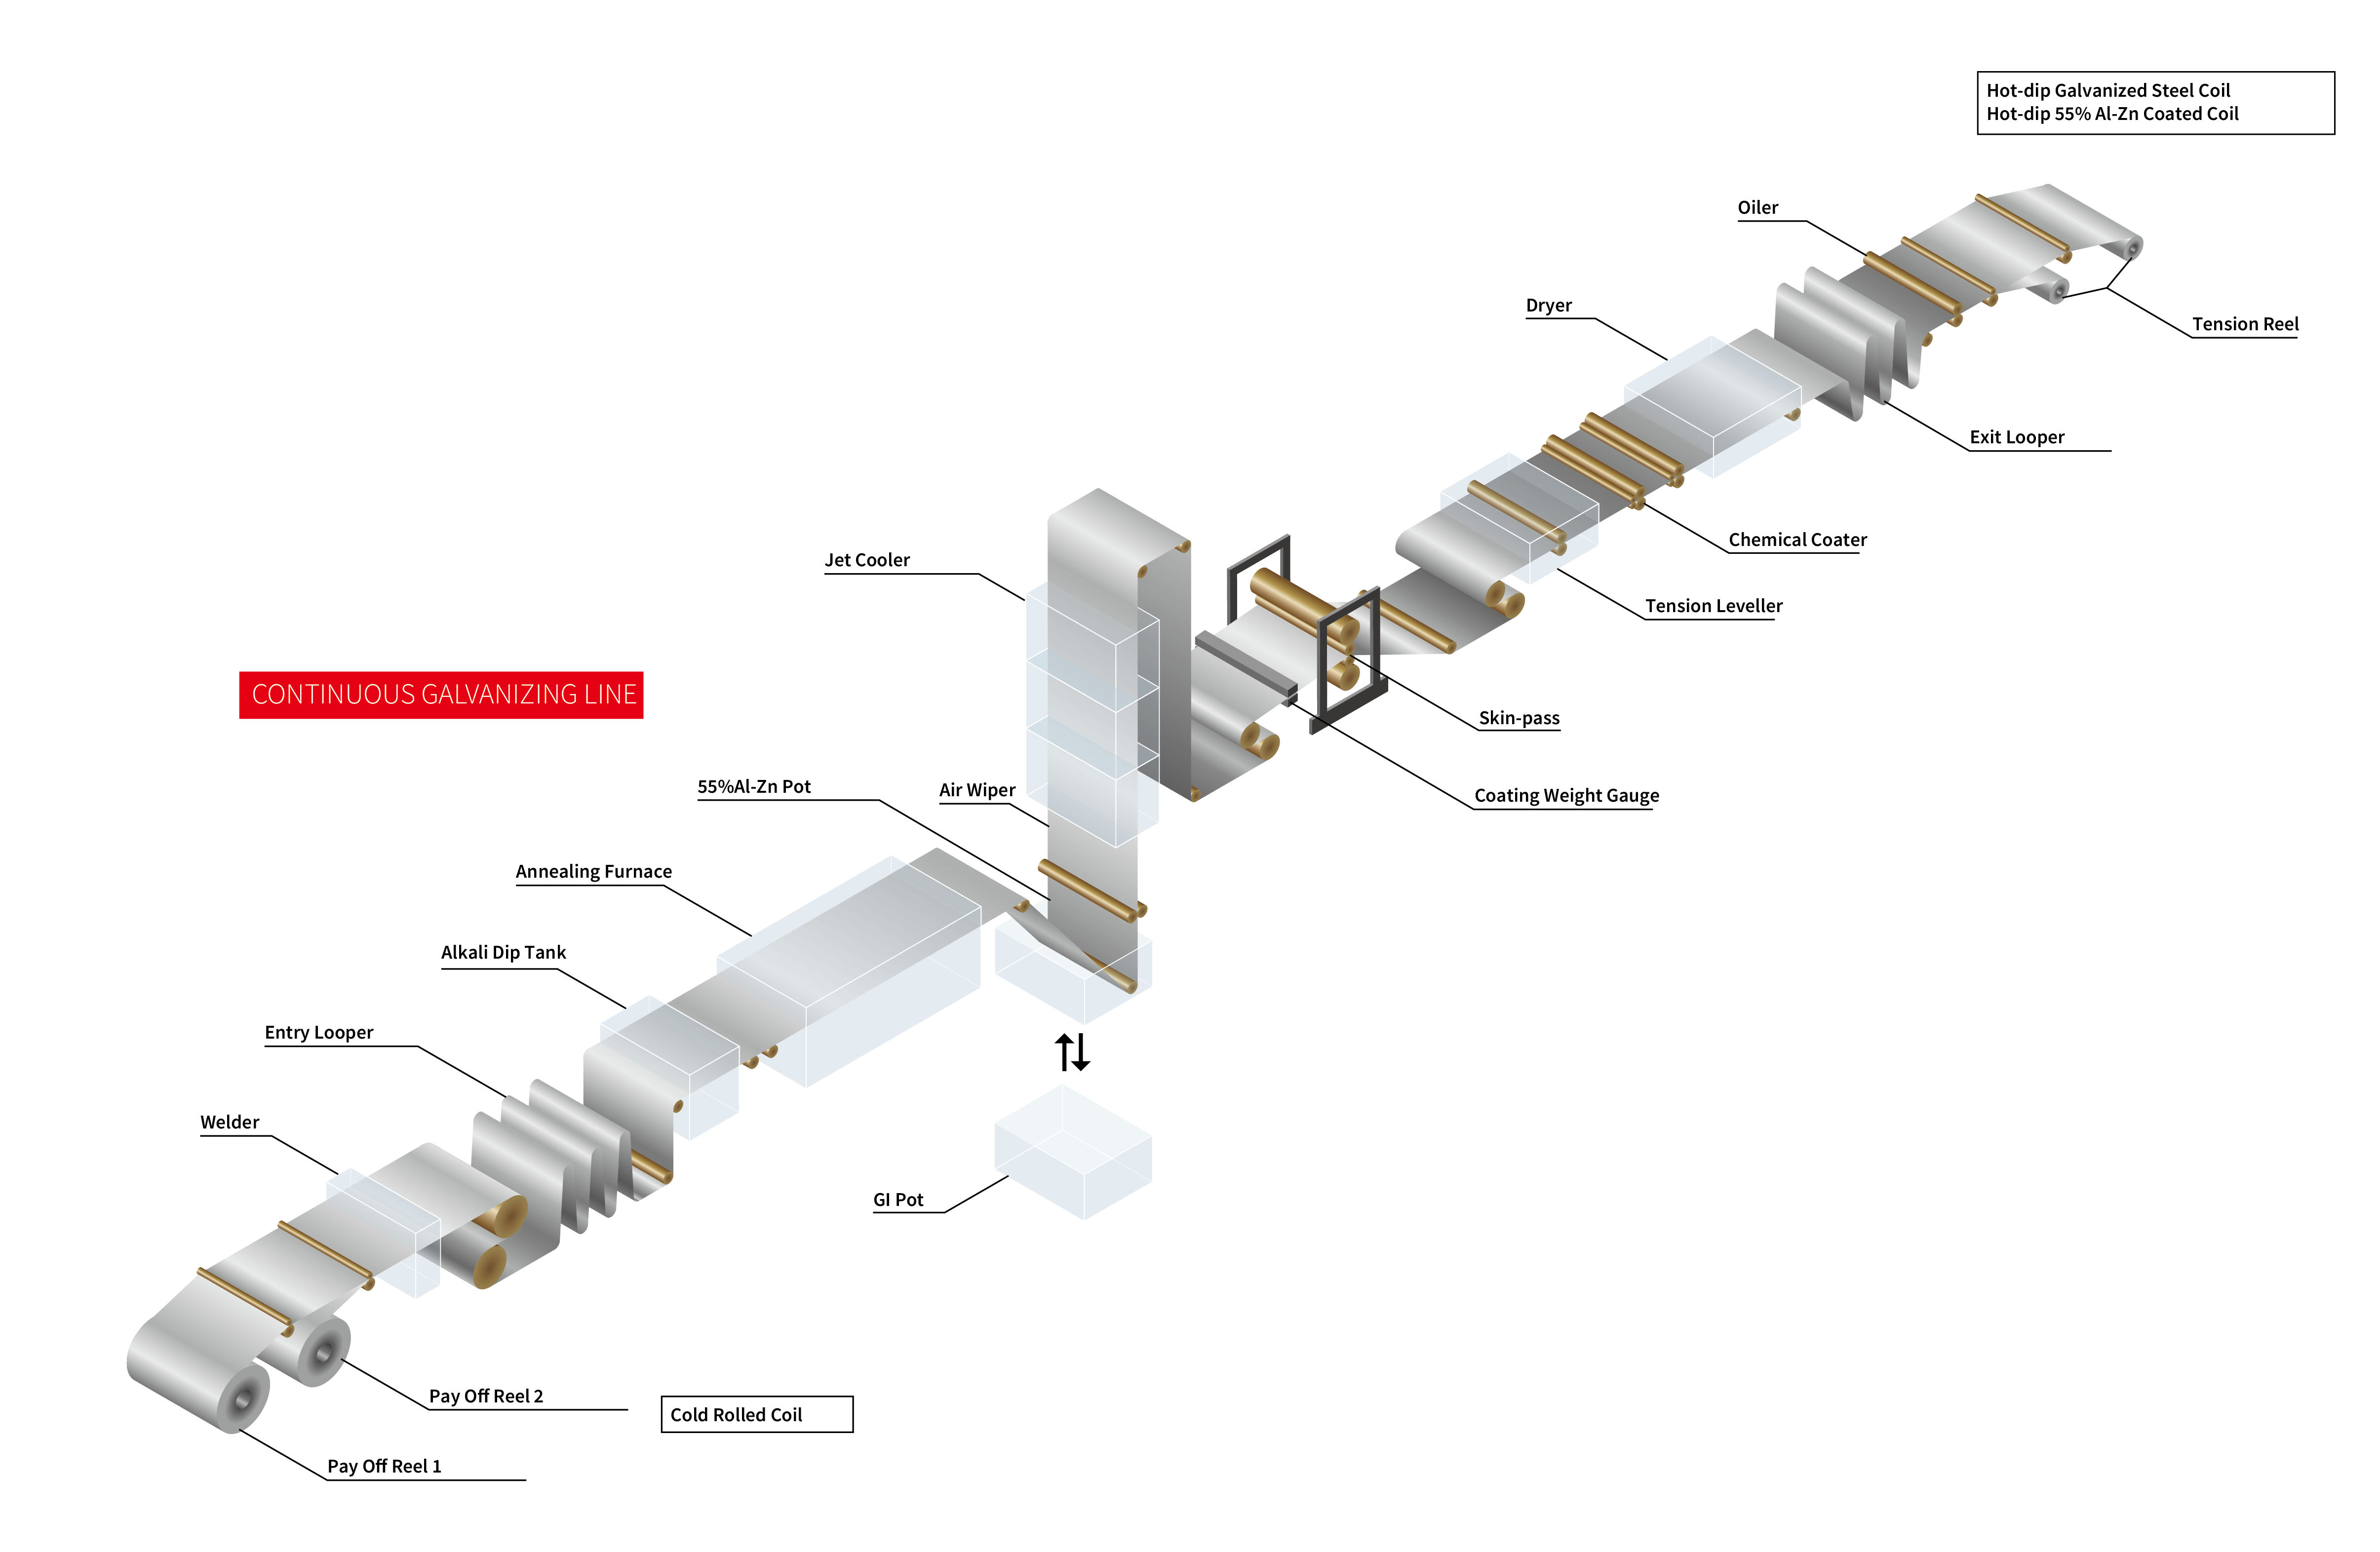
Cold-rolled coil sheet(or pickled hot rolled coil) is set onto the payoff reel. Sheet end is welded with another coil’s edge which allows continuous production.
Sheet is treated and cleaned with NaOH alkaline solution to remove surface impurity.
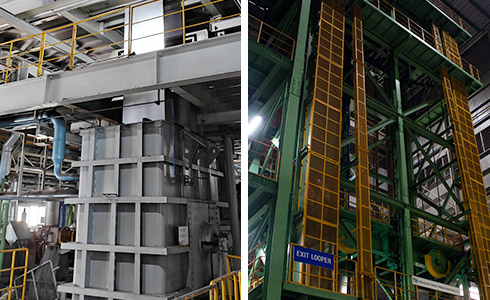
Sheet is exposed to direct and indirect heat to achieve ideal surface condition for the galvanizing process. In addition, mechanical property is carefully controlled to give the necessary strength for the end use.
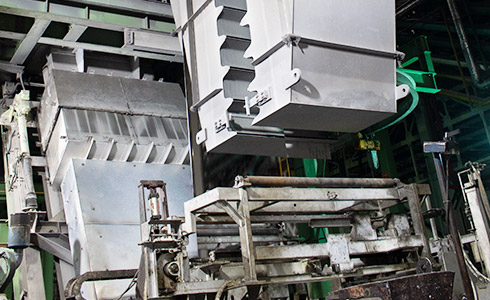
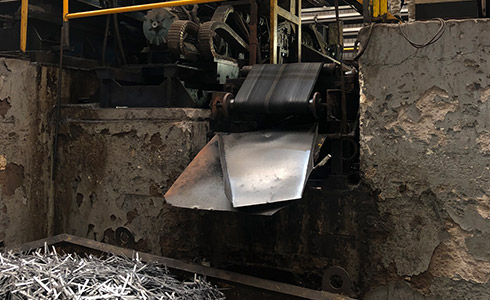
Sheet is dipped into molten Zinc or Zinc-Aluminum to coat it with corrosion resistant coating layer. Coating mass is controlled to meet the order specification.
Coating layer is rapidly cooled to form the desired property.
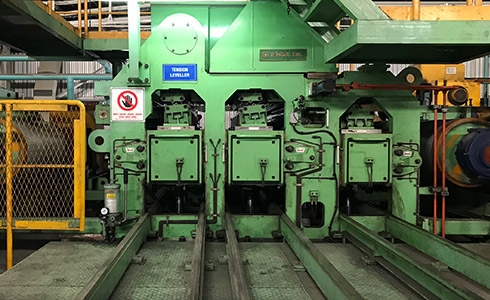
Surface quality and dimension is controlled thru skin-pass mill, tension leveler, then resin is applied to provide additional corrosion resistance.
Sheet is recoiled and cut to the specified weight range of orders. Packing is applied to provide the adequate protection through the transportation.
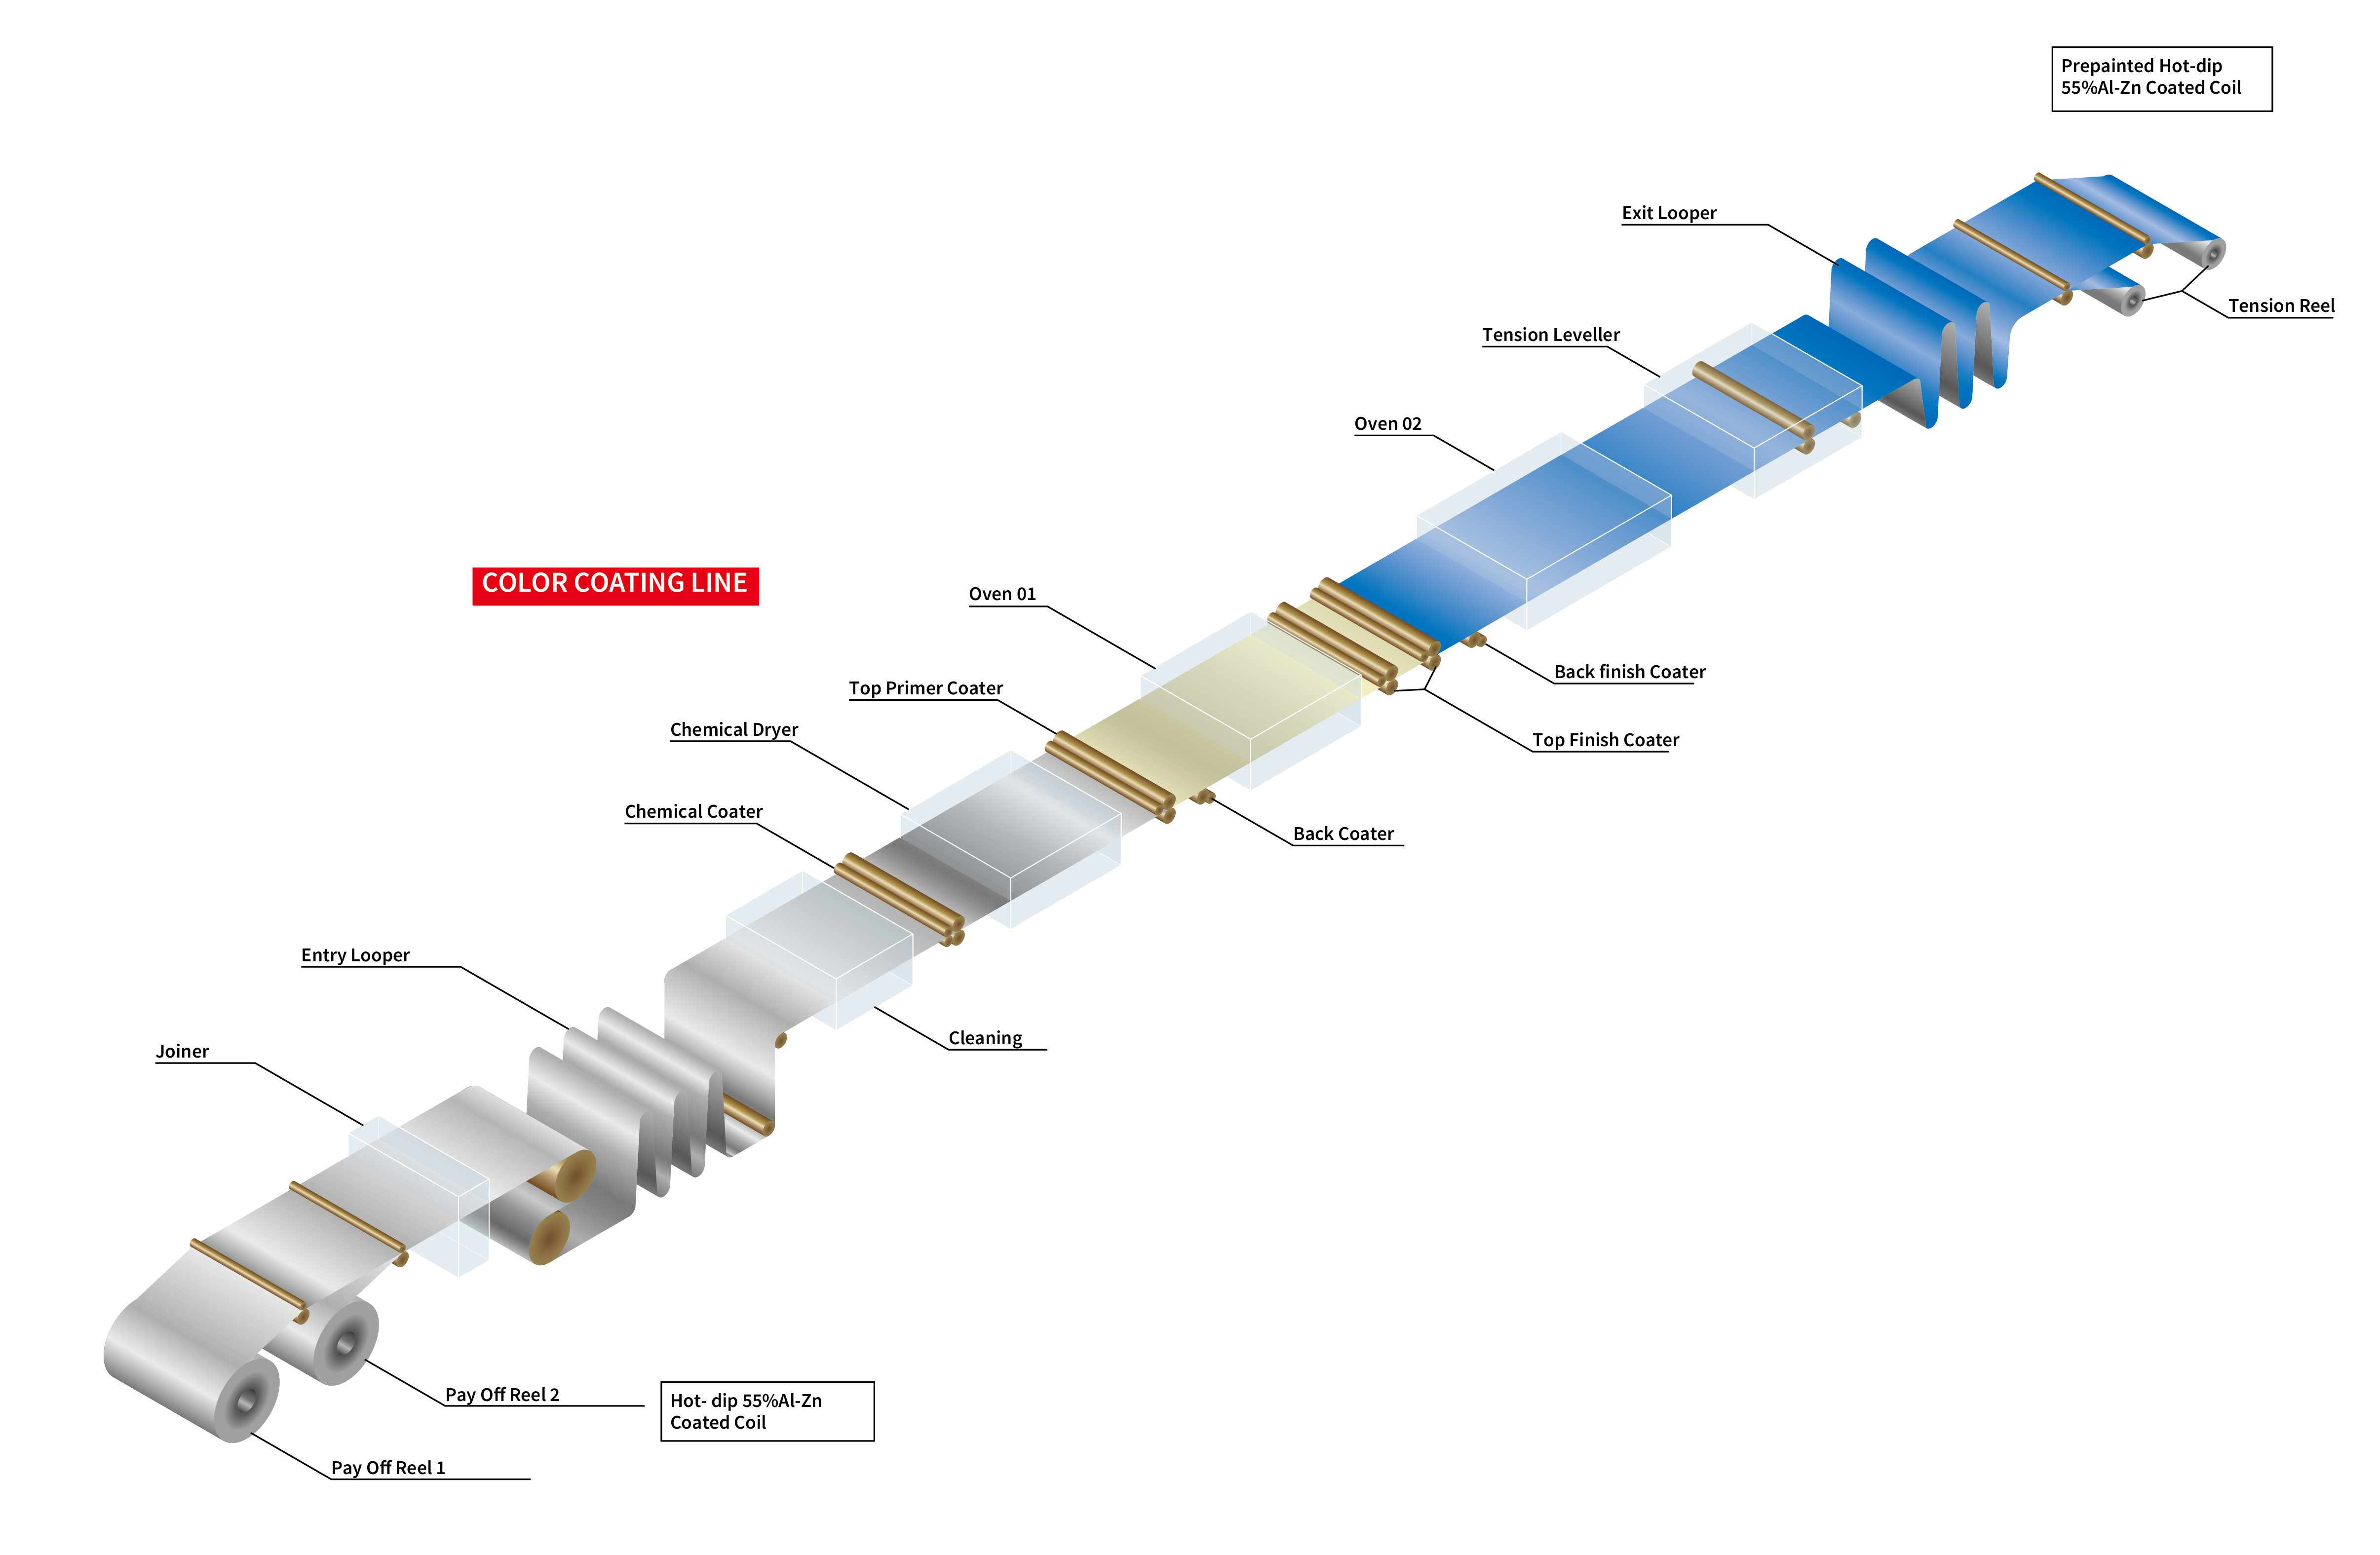
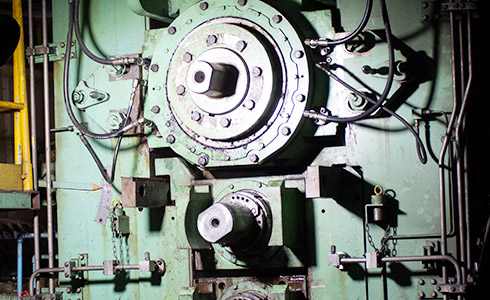
Galvaleum (Zinc-Aluminum coated steel) sheet in coil is set on is set onto the payoff reel. Sheet end is conjoined with another sheet’s end, which allows continuous production
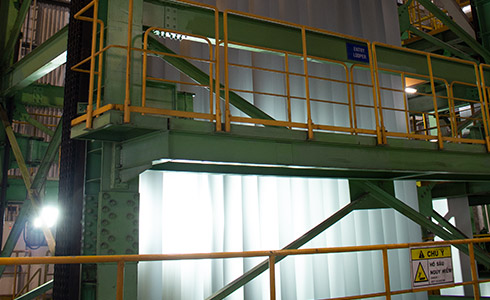
Enough amount of sheet is accumulated in the entry looper so that during the material Set-up process above, the production line is continuously fed with enough material.
Sheet surface is cleaned with iron brush to improve adhesion then cleaned with hot water.

Chemical is applied on the surface to protect the surface from oxidation and to increase the adhesion between the sheet surface and paint coating layer
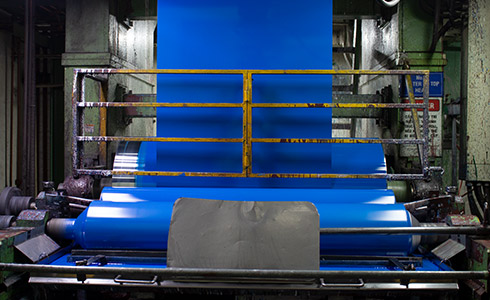
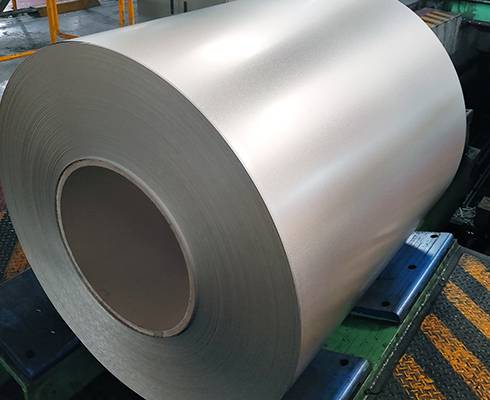
Primer coating is applied on the sheet surface, then top coating is applied to provide the desired color both on the top side and back side.
Sheet dimensional accuracy, which is affected at the different stages of production, is corrected to meet the order specification.

Color Painted Sheet is accumulated in the exit looper to allow continuous production.
Sheet is recoiled and cut to the specified weight range of orders. Packing is applied to provide the adequate protection through the transportation.